Data Separation
In most cases, the SC Navigator applications can run of a single file system in the Azure Data Lake Storage. This means that all data (configurations, datasets, and scenarios) is shared by all the user on the platform. However, in a number of situations the data should not be shared among various user groups, for instance:
The SC Navigator platform is used by multiple different business units of one company, where the data must be separated between the business units.
The SC Navigator platform is used to run studies for multiple different companies.
In those cases, the SC Navigator platform needs to be setup so that the data of various users group is separated, and this part of the documentation provide instructions on how to set that up.
There are situations where you might think that you should separate the data, while in fact you should not:
There are different projects that need to be managed.
There are different application that needs to be used.
There are different business problems to be solved.
In these cases you should not separate the data, because you want to be able to share the data between the various users. In these cases it is better to use the domain functionality or naming conventions to separate data between users and applications, but still keep the data in one database schema so that it can be shared with other users and applications.
Note
Once you have setup data separation, you cannot exchange data between the various groups anymore.
Setup Platform
By default, the SC Navigator platform does not separate the data in multiple file systems. If you want to activate this functionality, you will need to create a user group with exactly this name Business Unit - Admin in the SC Navigator environment. This tells the SC Navigator applications that there will be multiple “Business Units”. See User Management in the AIMMS Cloud documentation for instructions. Once this group is created, add the users that should be able to manage the creation and deletion of Business Units.
Warning
Users added to this group have access to the data of all Business units, so make sure that only the right users are added to this group.
Setup User Groups
Once you have created the Business Unit - Admin, you also need to create users and user groups, again see User Management in the AIMMS Cloud documentation for instructions. These users and user groups determine which database schema will be used for any given user.
There are a few different ways to design this, based on your needs.
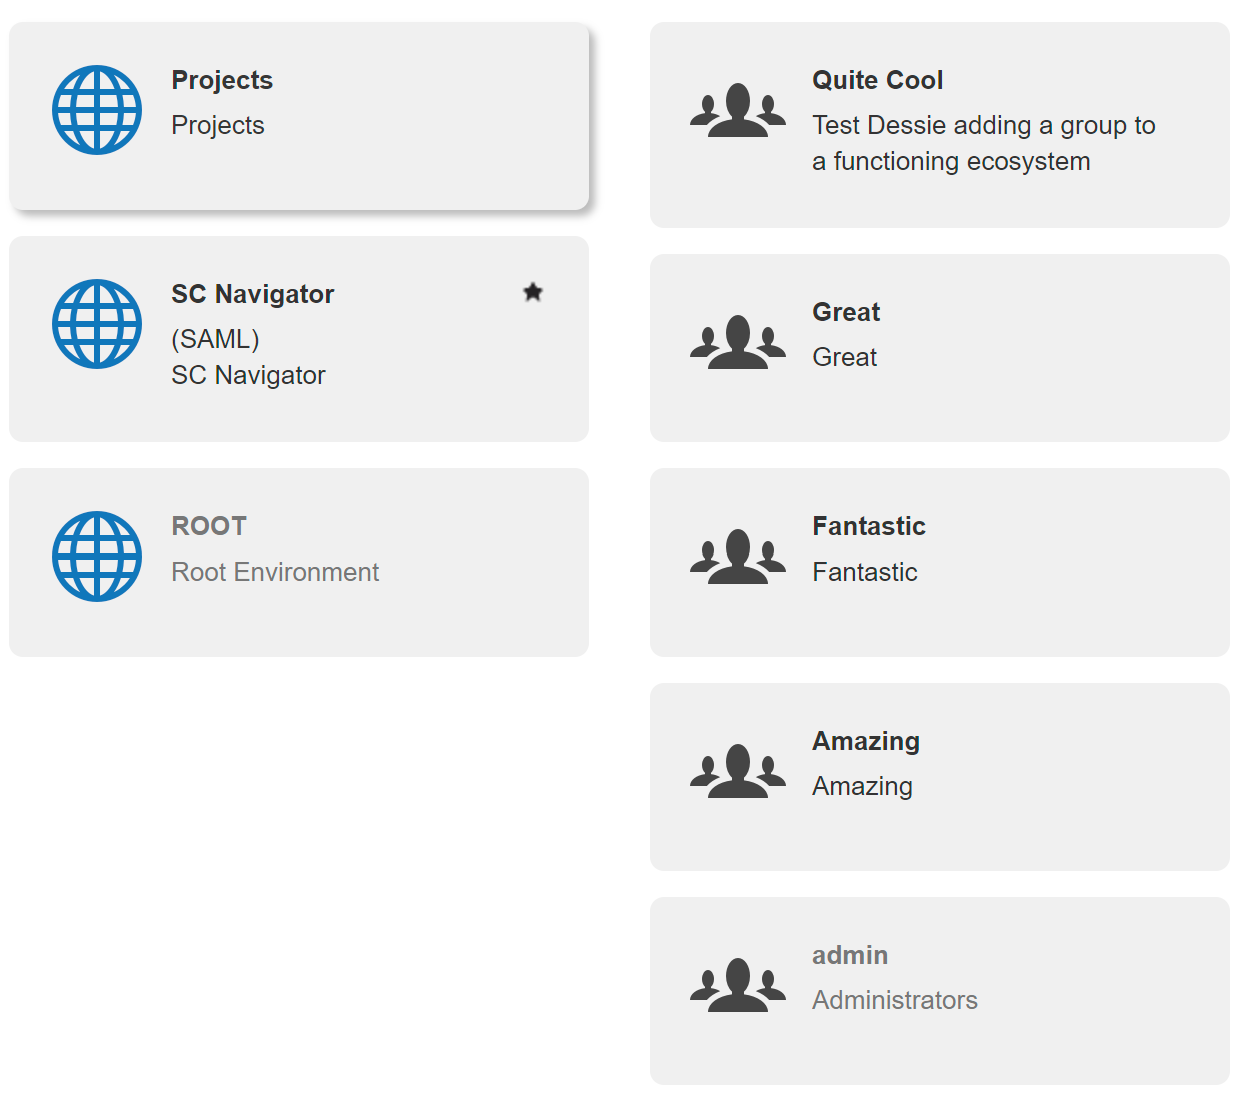
External authorization: The first way is through external authorization, either Active Directory or SAML. In that case, you will need to setup an environment that is linked to Active Directory or SAML, and create user groups that matches the groups in either Active Directory or SAML. After that Active Directory or SAML will take care of the rest. If the user groups are not in Active Directory/SAML, you can also create groups manually and add users to those groups manually. However, in that case, you will need to create these groups in a different environment, like here were they are created in the environment “Projects”:
Local user management: In that case, you need to setup an environment, just like in the previous option, but this is not connected to any external authorization tool. Once you have created that environment, you need to create a user group, and add the users that belong to this business unit to that group. You will also need to add one or more users to the Admin group in that environment. The users in the Admin group have the ability to add and remove users from this environment. This allows for user management inside the business unit.
Global user management: In that case, you don’t need to setup an environment, you only need to create a user group, and add the users that belong to this business unit to that group. You don’t give any users admin rights, because of they have admin rights, they can also add themselves to Business Unit - Admin group created above, and have access to the data of all the business units.
Setup File system
The data is still in one Azure Data Lake, but the SC Navigator platform will use different file systems for different business units. SC Navigator will generate the file system, based on the name you provide in the next steps. The last step is to setup the Business Unit, see here Business Unit Management for instructions.
Warning
Most users will start with default setup, without the Business Unit - Admin. However, if you then create the Business Unit - Admin group, you also need to create a business unit for the existing users and add the current users to that group. If you don’t do that, the original users loose access to their data. You need to setup this business unit with the default file system.