Workflow
This section explains how the Workflow menu on the left hand side of the page can be used in the application.
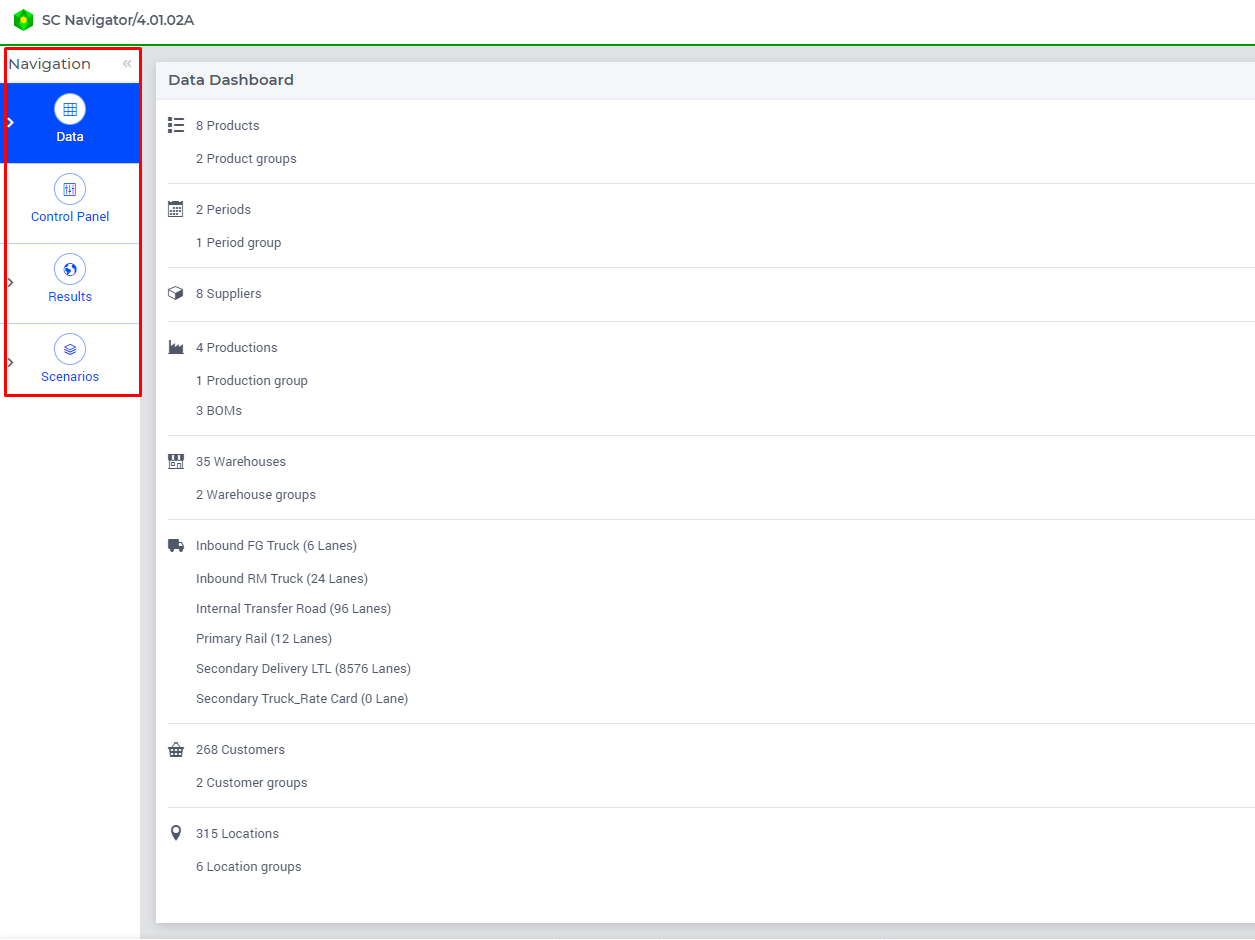
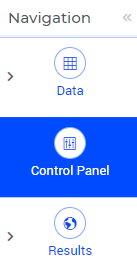
This workflow menu features a number of steps which help you navigate through the pages in an order which facilitates the usage of the application. The currently selected page in the Workflow is highlighted in blue.
Data step
When clicking on the Data step this step opens and several data pages underneath become visible, such as:
Supplier
Production
Warehouse
Transport
Customer
Other data
Manage Data
This section allows you to inspect and review the data for the application, which may be imported from some Excel files or from a data lake. For more information on the Data page, please see the section Data.
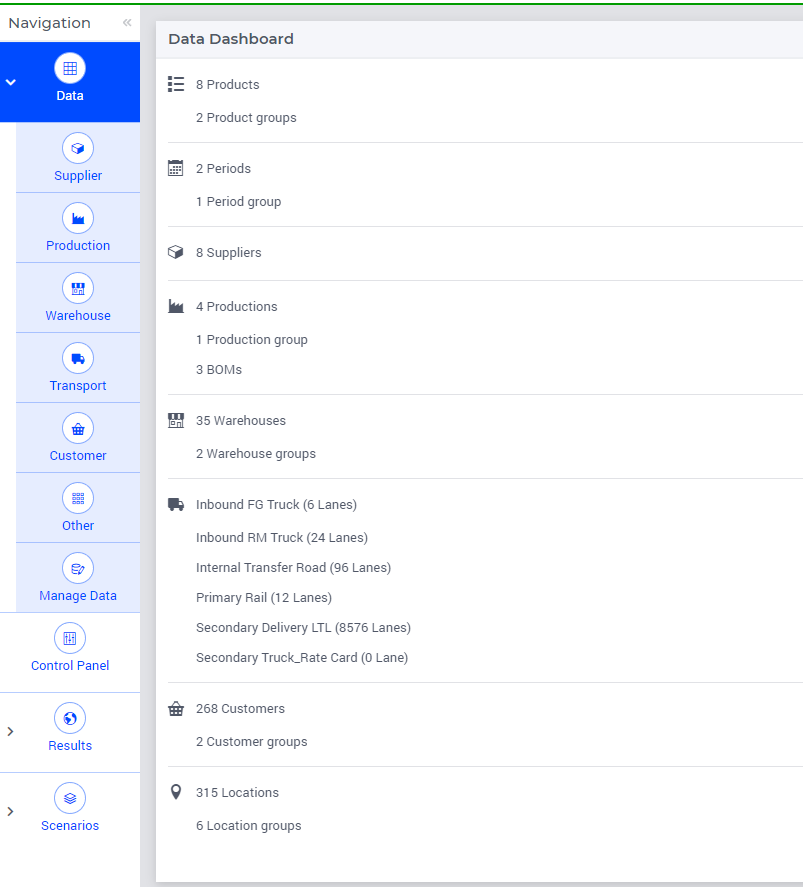
We summarize here in turn the purpose of each of these data pages.
When clicking on the Supplier step in the Workflow menu the Supplier Data page will open. On this page you can find data related to the Supplier category. For more information about this page, please see the section Supplier Data.
When clicking on the Production step in the Workflow menu the Production Data page will open. On this page you can find data related to the Production category. For more information about this page, please see the section Production Data.
When clicking on the Warehouse step in the Workflow menu the Warehouse Data page will open. On this page you can find data related to the Warehouse category. For more information about this page, please see the section Warehouse Data.
When clicking on the Transport step in the Workflow menu the Transport Data page will open. On this page you can find data related to the Transport category. For more information about this page, please see the section Transport Data.
When clicking on the Customer step in the Workflow menu the Customer Data page will open. On this page you can find data related to the Customer category. For more information about this page, please see the section Customer Data.
When clicking Other step in the Workflow menu the Other Data page will open. On this page you can find the Group type of data. For more information about this page, please see the section Other Data.
When clicking Manage Data step in the Workflow menu the Manage Data page will open. On this page you can delete data that you do not need or upload and download case file. For more information about this page, please see the section Manage Data.
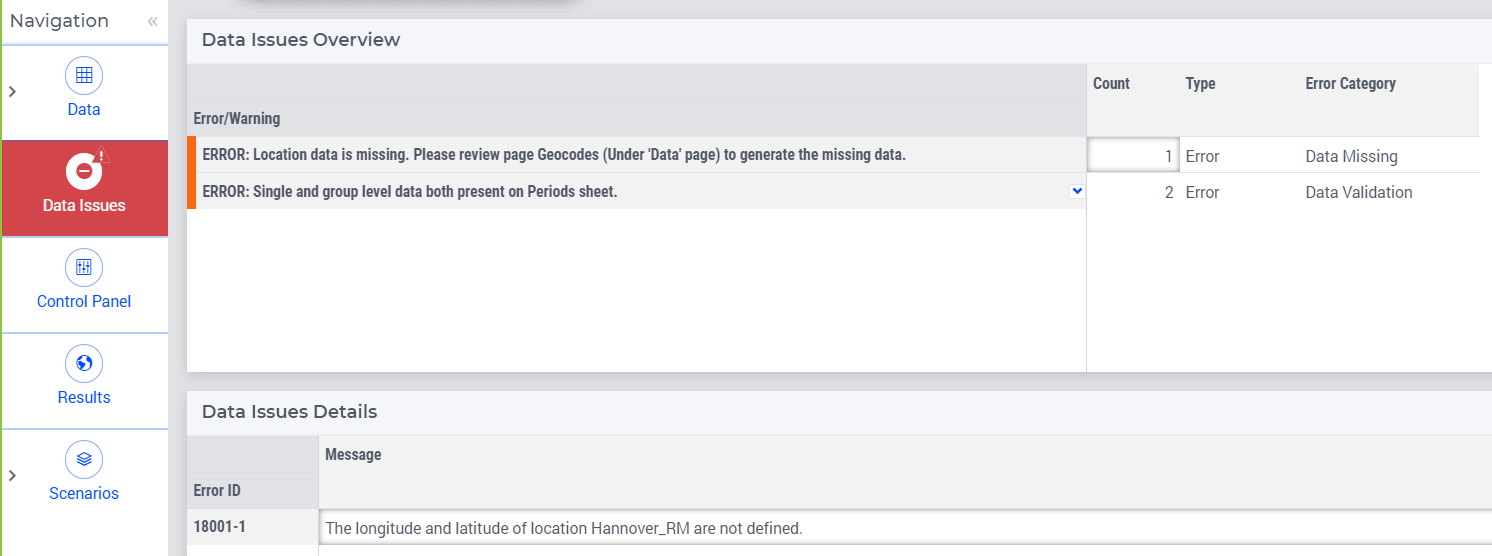
Data Issues step
This workflow step becomes visible in case any data issues arise. On the Data Issues page there are two tables. The top table “Errors/Warnings Overview” lists all the errors and warnings which were encountered when reading the Excel Data File.
Control Panel step
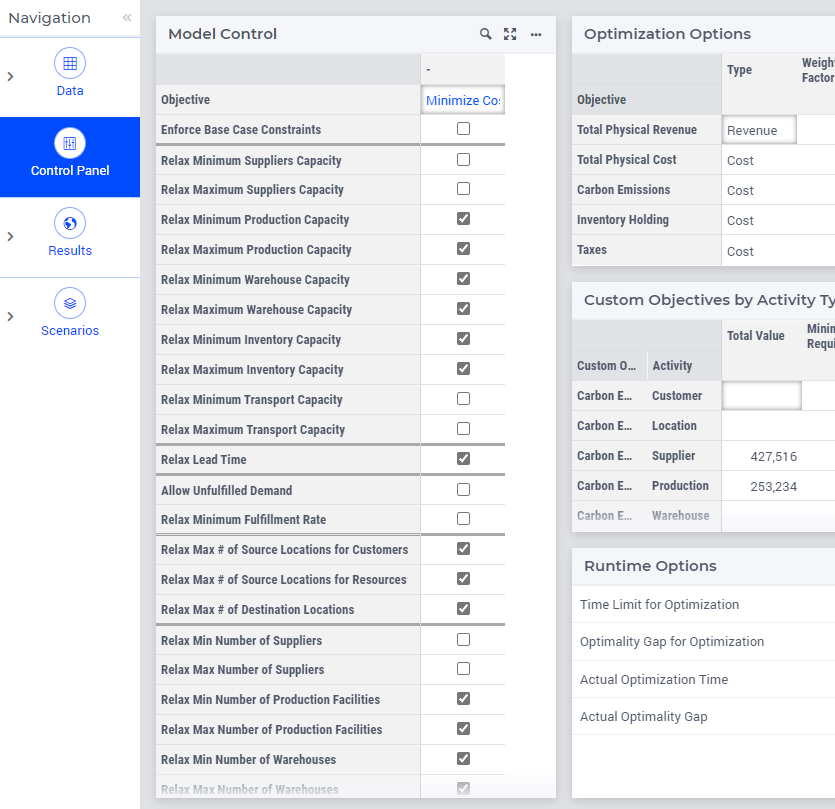
When clicking on the Control Panel step in the workflow the Control Panel page will displayed. Before running the optimization of the model you can customize several options on the Control Panel page, such as:
Set some criteria for the constraints
Select objectives for the optimization model
Set the data for the Custom Objective minimum required and maximum allowed
Change the considered product
Set the location cost and the data for open/close
Set the minimum/maximum constraints for suppliers, production facilities, warehouses, and locations
For more information on the Control Panel page, please see the section Control Panel.
Results step
When clicking on the Results step this step opens and several results pages underneath become visible, such as:
Supplier
Production
Warehouse
Transport
Customer
KPI Overview
Cost to Serve
End to End
After the optimization has been completed you are able to analyze the results by using various reports and breakdowns from the supplier to the customer. For more information about the Results page, please see the section Results
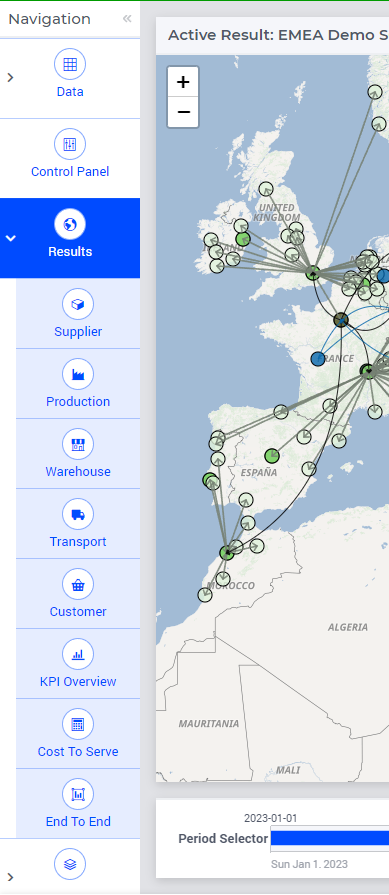
When clicking on the Supplier step in the Workflow menu the Supplier Results page will open. On this page you can find reports of the results related to the Supplier category. For more information about this page, please see the section Supplier Results.
When clicking on the Production step in the Workflow menu the Production Results page will open. On this page you can find reports of the results related to the Production category. For more information about this page, please see the section Production Results.
When clicking on the Warehouse step in the Workflow menu the Warehouse Results page will open. On this page you can find reports of the results related to the Warehouse category. For more information about this page, please see the section Warehouse Results.
When clicking on the Transport step in the Workflow menu the Transport Results page will open. On this page you can find reports of the results related to the Transport category. For more information about this page, please see the section Transport Results.
When clicking on the Customer step in the Workflow menu the Customer Results page will open. On this page you can find reports of the results related to the Customer category. For more information about this page, please see the section Customer Results.
When clicking on the KPI Overview step in the Workflow menu the KPI Overview page will open. On this page you can explore the costs and the revenues from different perspectives. For more information about this page, please see the section KPI Overview.
When clicking on the Cost to Serve step in the Workflow menu the Cost to Serve page will open. On this page you can see various breakdowns of costs. For more information about this page, please see the section Cost To Serve Results.
When clicking on the End to End step in the Workflow menu the End to End page will open. On this page you can see how the product moves from Supplier to Customer. For more information about this page, please see the section End To End Results.
Scenarios step
When clicking the Scenarios step this step opens and several scenario pages underneath become visible, such as:
Supplier
Production
Warehouse
Transport
Customer
Control Panel
Network
In this section you can create scenarios which can be applied to the original data (see the section Data). This allows you to study the impact of some anticipated or unanticipated situations. For more information about the Results page, please see the section Scenario Navigator.
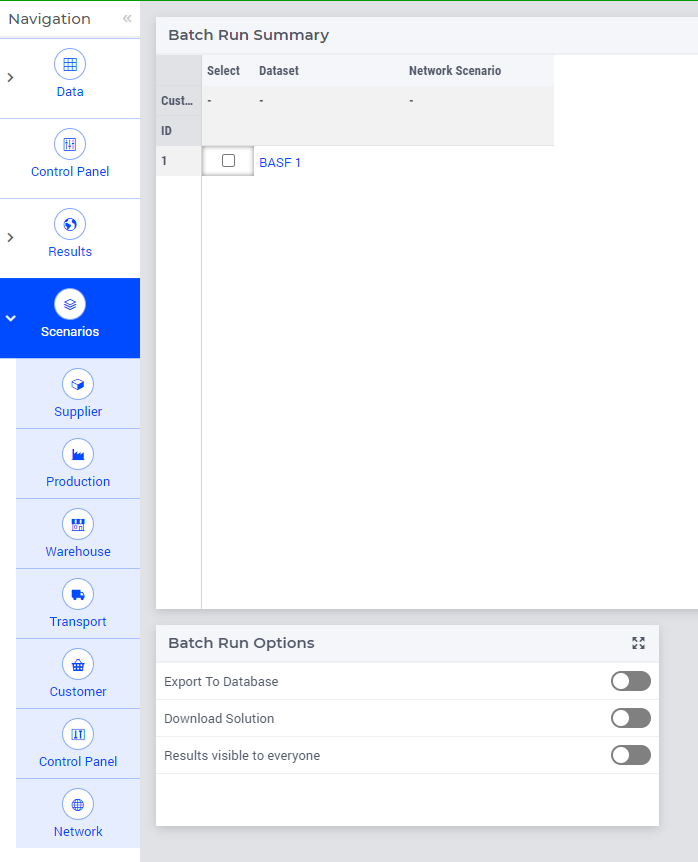
When clicking on the Supplier step in the Workflow menu the Supplier Scenario page will open. On this page you can create scenarios for the supplier input data. For more information about this page, please see the section Supplier Scenario.
When clicking on the Production step in the Workflow menu the Production Scenarios page will open. On this page you can create scenarios for the production input data. For more information about this page, please see the section Production Scenario.
When clicking on the Warehouse step in the Workflow menu the Warehouse Scenarios page will open. On this page you can create scenarios for the warehouse input data. For more information about this page, please see the section Warehouse Scenario.
When clicking on the Transport step in the Workflow menu the Transport Scenarios page will open. On this page you can create scenarios for the transport input data. For more information about this page, please see the section Transport Scenario.
When clicking on the Customer step in the Workflow menu the Customer Scenarios will open. A Customer Scenario describes how customer related data, such as Demand, Lead Time, and Selling Price may change. On this page you can create and review such scenarios, so that they can be used in order to create a Network Scenario. For more information about this page, please see the section Customer Scenario.
When clicking on the Control Panel step in the Workflow menu the Control Panel will open. On this page you can create scenarios for the data included on the page Control Panel. For more information about this page, please see the section Control Panel Scenario.
When clicking on the Network step in the Workflow menu the Network Scenarios page will open. Network Scenario consists of a combination of scenarios (datasets) of the other types, such as Customer Scenario. For more information about this page, please see the section Network Scenario.