Data User Group
Once the user group Business Unit - Admin is created (see Data Separation for instructions), the page Data User Group becomes available in the System Configurator for the users in this group. If you open this page, you will see a list of all user groups which you created under Setup User Groups.

The column “Exclude” can be used to indicate that you don’t want this group to show up in the list with active groups. This is useful in combination with Single Sign On (SSO), when you don’t want to use the SSO group for access to different data Business Units/Projects. For instance in the screenshot above, the users get access to the system via group “SC NavigatorAll Users”. However, their membership of the Business Units/Project “Project Great”, “Project Amazing” and “Project Fantastic” determines which group they can get access to. You can edit the “Display Name” and this is the name that will be shown everywhere for this Business Unit/Project.
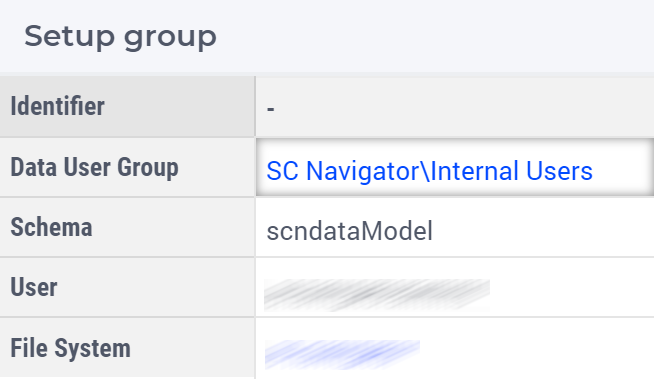
If the data separation is not setup, it will still list the groups, but the schema, the username and the file system fields are left blank. For security reasons, the passwords are not shown in this table because they should not be visible on the screen for a long time. The schema, the username, and the password are used for the database, while the file system is used for the Azure Data Lake Storage.
You can save the settings for any user group by entering the schema name, the username, and the password, or the file system in this part of the screen:

By checking “Generate DB User” here you can also indicate whether this user needs to be generated in the database. You should only do this if the user has not been created yet. While it still shows some values for the other data source to have them as reference, you can only change the fields which are relevant for the selected data source (See Status bar). For instance, if you have three groups with the same database schema, you also want to give them the same file system.
Once you fill these in, you need to click on the page action Store Data Lake Settings or Store Database Settings, depending on the current data source. This action will save the results in the AIMMS Cloud storage and any user in this group will use that schema or file system. It will also show the schema and the username or the file system in the list mentioned above.
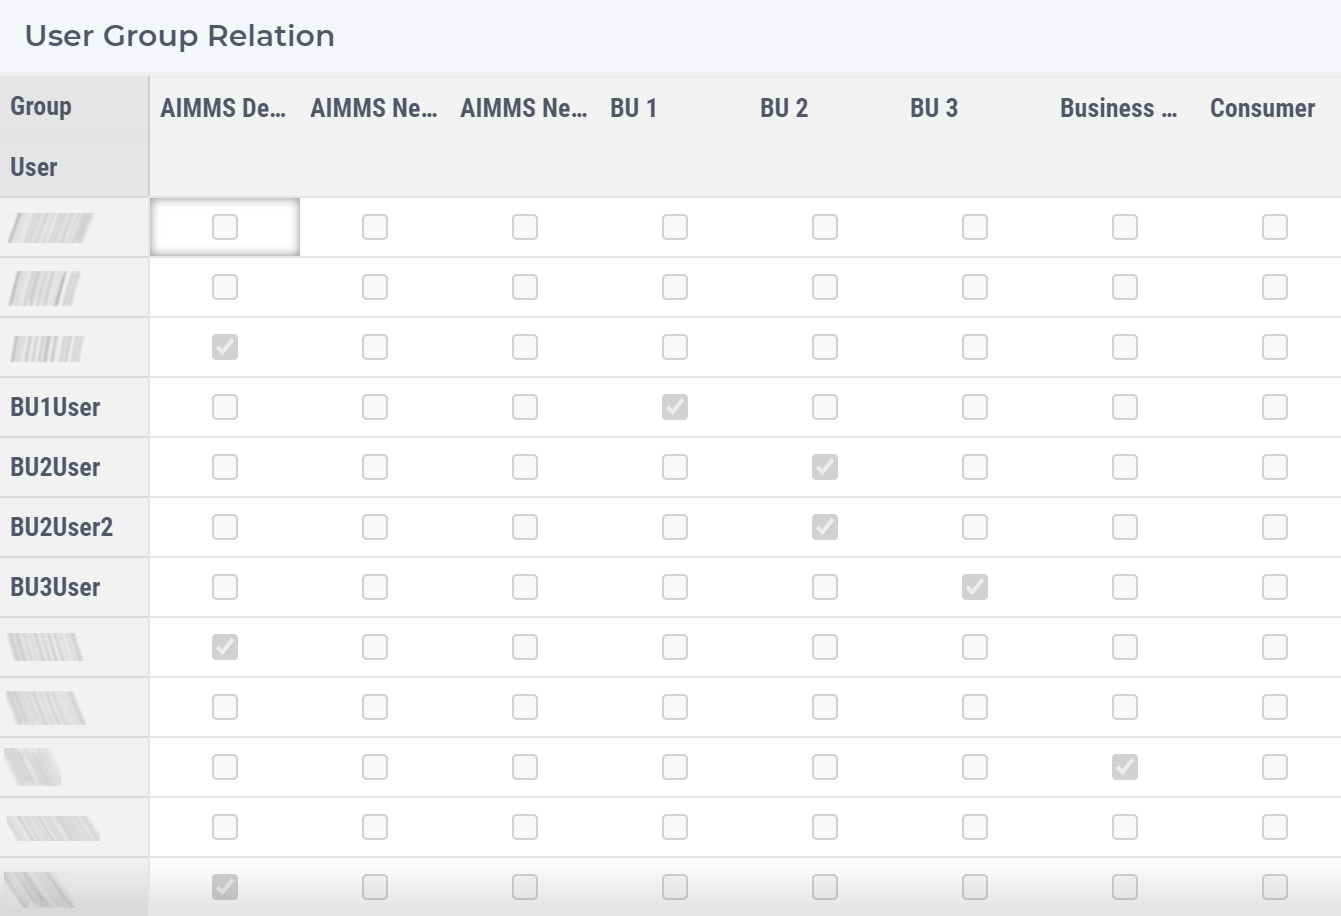
The table on the bottom of this page contains information on which users are part of which user groups:

Initially, it only shows the customer-defined user group, together with the admin group. The widget action in this table can be used to switch between all groups and the customer-defined groups.
The main purpose of this table is to check that your user groups, including the Business Unit - Admin, are defined correctly. Clearly, you want to prevent that some users get access to some wrong data, because they are placed in a wrong group.