Page Actions and Widget Actions
This page discusses the following topics:
Page Actions
On almost every page you can find the page action icon  . When clicking on this icon various page actions become visible depending on the type of page.
On the pages Data and Results there are two types of page actions, namely Save As Input Data and Save As Results Data.
. When clicking on this icon various page actions become visible depending on the type of page.
On the pages Data and Results there are two types of page actions, namely Save As Input Data and Save As Results Data.
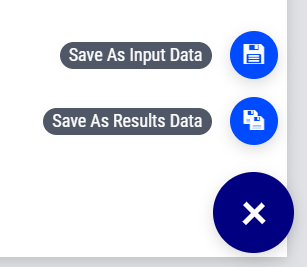
Save As Input Data: This saves the loaded data as a dataset. Before saving the input data you should fix any data issues (see the section Data Issues for more details).
Save As Results Data: This brings up a dialog where you can save the input and the results. You can use the saved results data to compare two cases and for the reference map (see the section Save and Compare Results for more details).
You can read more about saving data in the section How to save results dataset?.
On the Scenario Navigator Overview there are different types of page actions which are related to the scenarios:
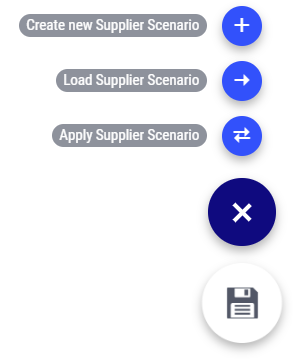
Create New Scenario: This empties all the data shown on the page.
Load Scenario: This brings up a dialog with all scenarios where you can select which scenario you want to load. After loading, the contents of that scenario will be shown on the page.
Apply Scenario: This applies the loaded scenario to the original input data.
Save As Scenario: This brings up a dialog where you can save the data to the database.
On most of the pages you can find the Optimization button.

After clicking on this button SC Navigator will determine the optimal design of your network and display it on the map. The optimization will run in the background, allowing you to freely navigate the application. After initiating the optimization, a dialog page will appear.
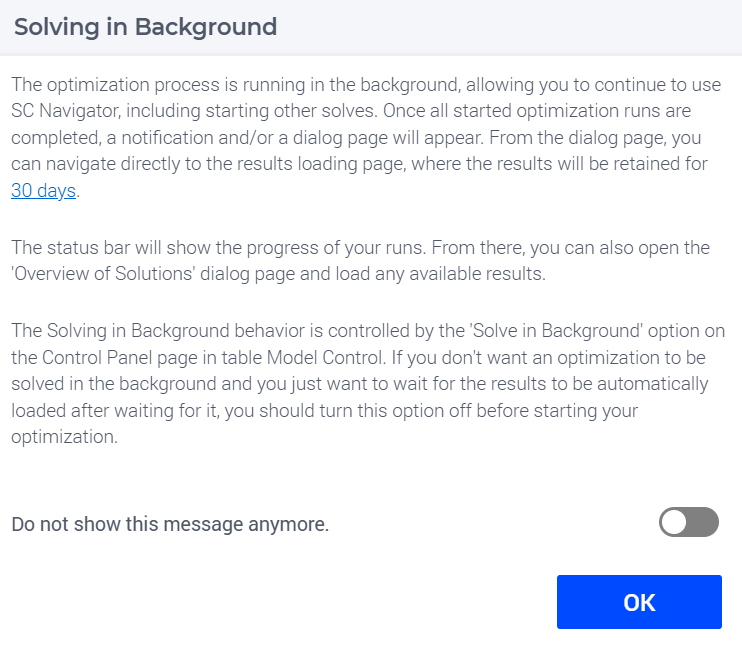
If you check the “Do not show this message” option, this dialog page will not appear for future runs. For single runs, when a job is finished, a notification will appear, and a dialog page will prompt you to open the “Overview of Solutions” dialog, where you can load the results.
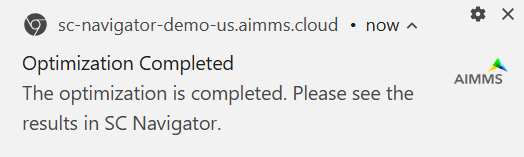

In the case of batch runs, the notification and dialog page will appear only when all runs within the batch are completed. You can read more about the Overview of Solutions dialog page in Number of Completed Runs.
Widget Actions
Some widgets (objects on the page) have the so-called Widget Actions. A widget action can be activated via the widget action icon, located in the top right corner of the widget.
Not all objects have this, but when an object does have it, then you can see an icon like this  .
.
When you click on this you will see a menu with options to choose from. These options are different from widget to widget.
Download and Upload Table Data
The Table Widget offers the possibility to download its contents to an Excel workbook on your local machine, which you can then use to further process your data in Excel. Also, the data from an Excel workbook can be uploaded directly to the Table Widget.
More specifically, after using Excel to make edits to the data, the same sheet can be uploaded to the table and its changes will be automatically applied to the WebUI data (as if you made them through manual changes). On the Table Widget header you can access both actions when opening the kebab menu:
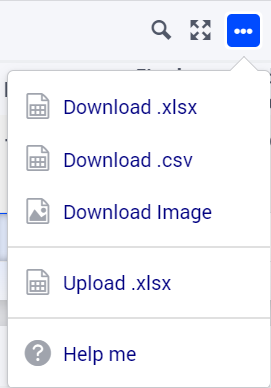
You can read more about download and upload table data in the AIMMS Optimization Tooling documentation.